- /
- Magnetic boards
- /
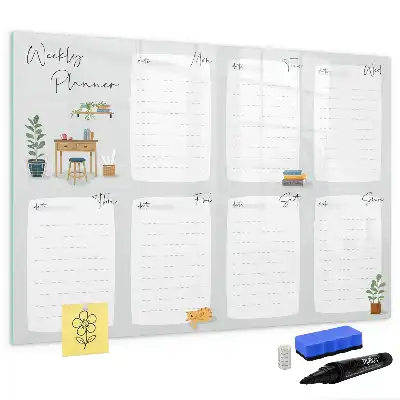
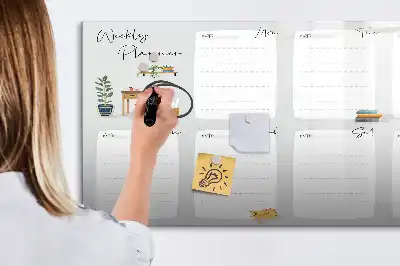
- Magnetic glass dry erase board convenient weekly planner
Magnetic glass dry erase board convenient weekly planner








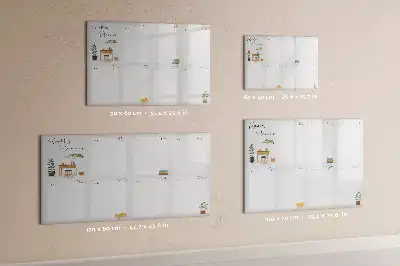
23x15 in (60x40 cm)
Other products with the same pattern:
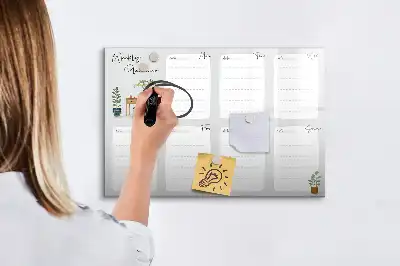
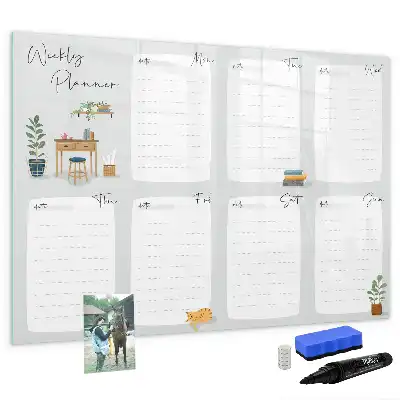
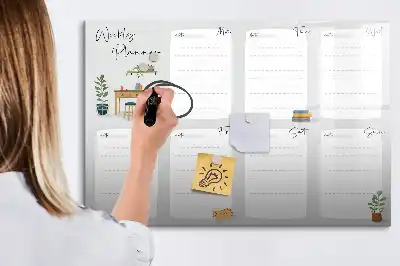
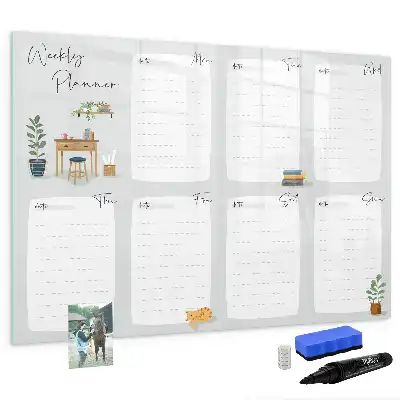
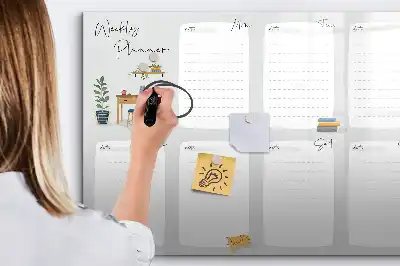
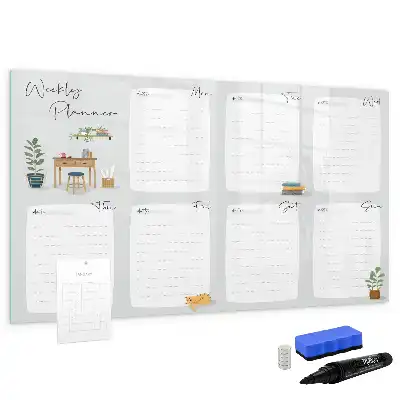
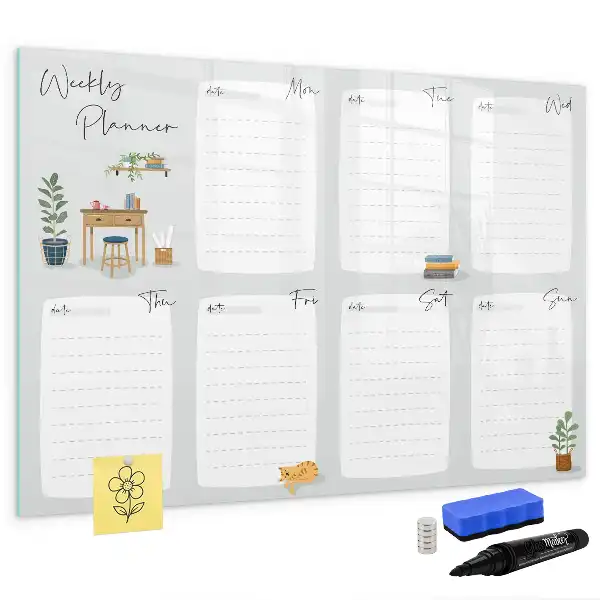
The Magnetic glass dry erase board convenient weekly planner is an essential organizational tool that combines modern aesthetics with practical functionality. Featuring a tempered glass surface with a professional weekly layout, this board provides a clean and elegant way to track your appointments and daily tasks.
Transform your workspace with a smart weekly organizer
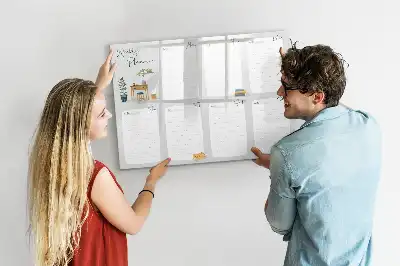
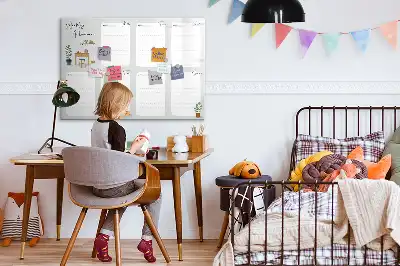
This board serves as the focal point of any home office or study area, offering a clutter-free solution for managing your schedule. Its sleek glass construction integrates seamlessly into contemporary interior designs while ensuring your notes remain easy to read. The horizontal orientation is specifically engineered to provide ample room for your weekly planning needs.
Technical sophistication and durable construction
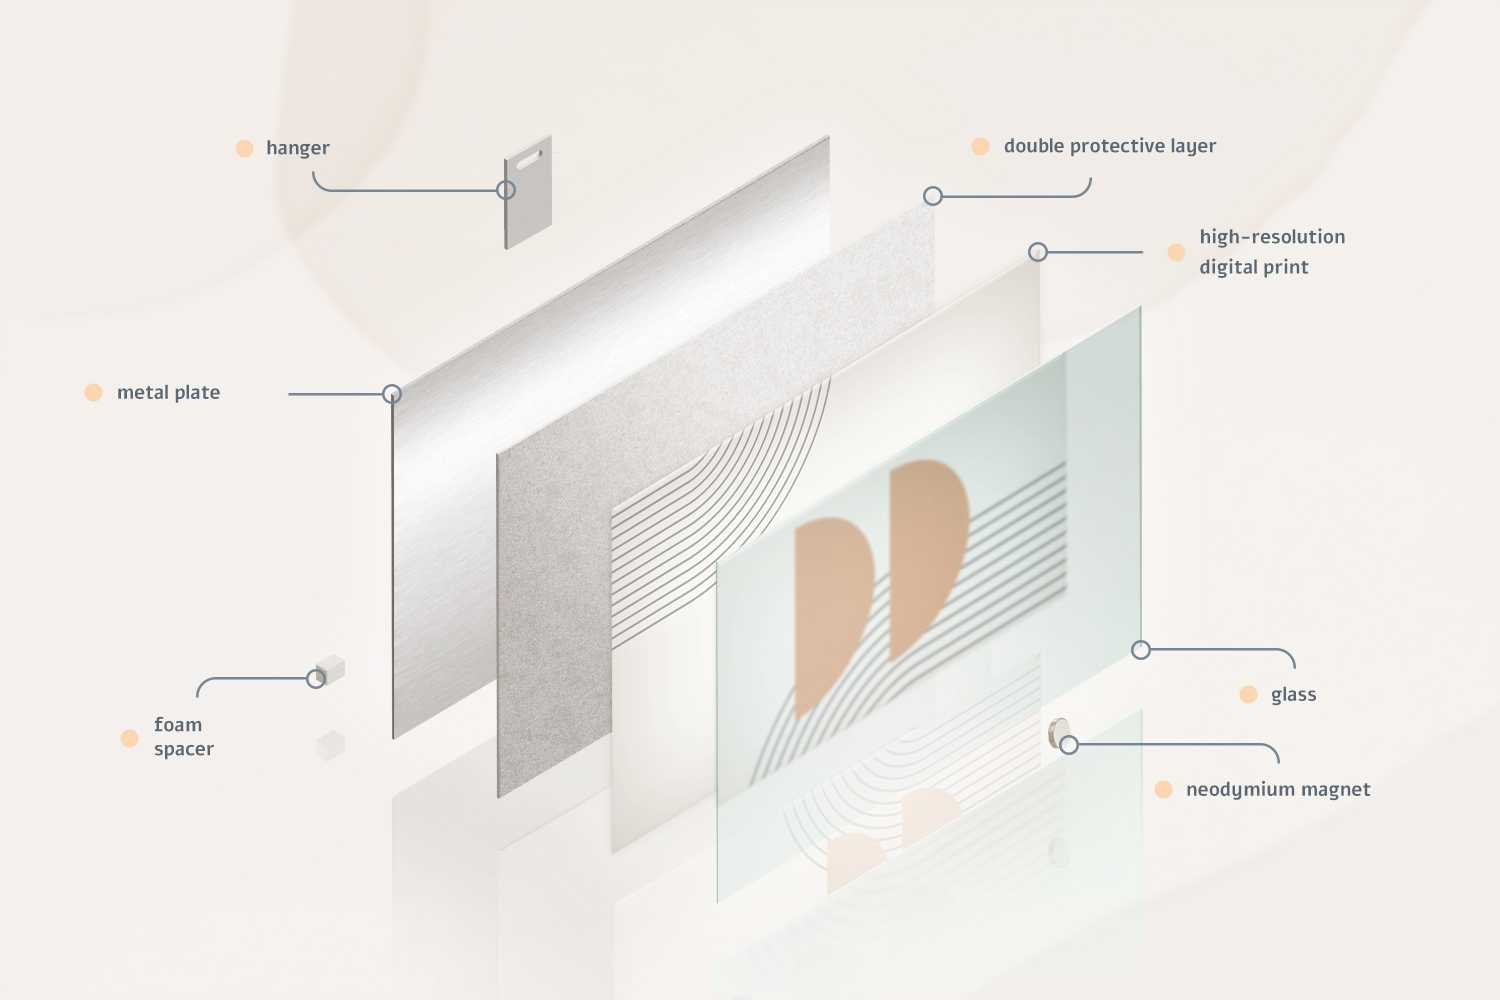
- Premium tempered glass: The 6 mm glass surface provides a smooth, scratch-resistant writing area that is easy to keep clean.
- HD graphic printing: The weekly planner layout is preserved under the glass with UV-resistant technology to ensure colors remain vibrant for years.
- Easy installation: Equipped with a reliable, factory-mounted hanging system that keeps the board securely flush against the wall for a minimalist look.
Horizontal glass magnetic board with black marker – specification and features
Technical specification
- FUNCTIONALITY: Magnetic and dry-erase surface
- DURABILITY: Scratch and impact-resistant tempered glass
- MATERIAL: Tempered glass + steel sheet
- THICKNESS: 6 mm
- FINISH: Polished, safe edges with an elegant shade
- PRINT: HD graphic print placed under the glass, UV resistant
- SET INCLUDES: 5x neodymium magnets (10x4 mm), black marker, eraser sponge
Assembly and cleaning instructions
- Step 1: Make sure the factory hangers on the back of the board are securely fastened.
- Step 2: Mark the locations for the mounting brackets on the wall, ensuring an even distribution.
- Step 3: Drill holes, insert wall plugs, and attach brackets suitable for the board's weight.
- Step 4: Hang the board on the wall and ensure the entire setup is stable and level.
- Cleaning: Use a soft, dry or slightly damp cloth. For writing, use only specific glass markers.
Important information
- The board features a fixed hanging system – please select the listing intended for your desired orientation (vertical or horizontal).
- Only strong neodymium magnets must be used on the glass board (5 pieces included in the set).
- Texture motifs (e.g., marble, wood, concrete, gold) are HD graphic prints and may differ from their natural counterparts.
- The color shades of the final product may slightly differ from the visualization depending on your monitor calibration.
- Any defects or discrepancies must be checked unconditionally before installation.
Frequently Asked Questions
Q: How do I mount this board on the wall?
A: The board features a fixed hanging system. You will need to attach the included brackets to your wall to align with the factory-mounted hangers on the back of the glass panel.
Q: Can I use regular magnets with this board?
A: No, please use only the included neodymium magnets or similar high-strength magnets, as the thickness of the glass requires stronger magnetic force.
Q: What types of markers are recommended?
A: We recommend using only standard glass-specific dry erase markers for the best results and easiest maintenance.
Q: What is the best way to clean the writing surface?
A: Simply wipe the surface with a soft, dry or slightly damp cloth to keep it looking pristine and prepared for your next week of planning.
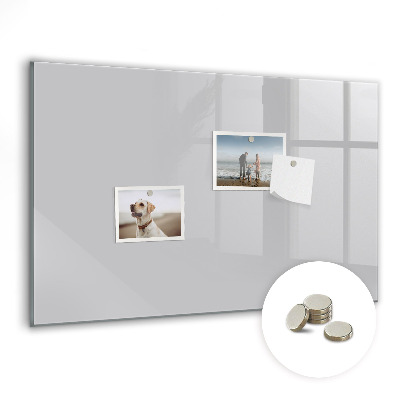
Bright gray color (#tmh-260254)
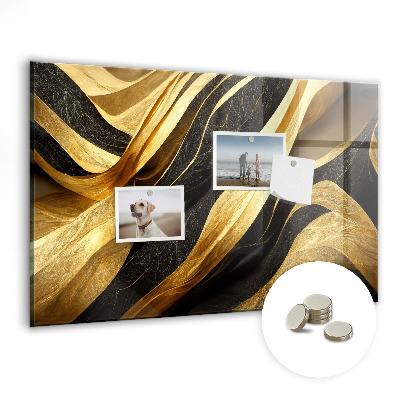
Elegant abstraction (#tm-88334)
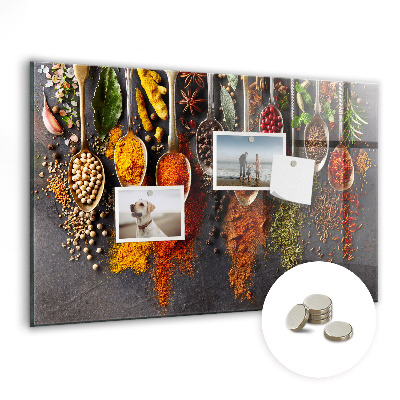
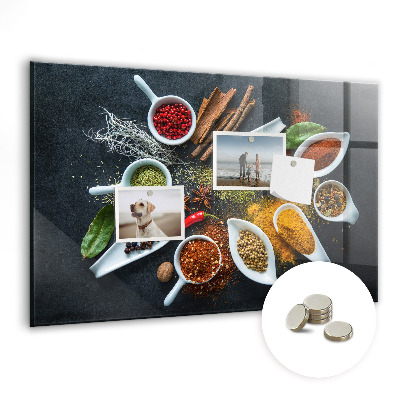
Spices on spoon (#tm-260206)